Search Thermo Fisher Scientific


Overview
These videos provide step-by-step instructions on how to perform these procedures and keep your Vanquish HPLC and UHPLC systems operating smoothly.
To easily access these procedures from your instrument, without the need for an external internet connection, add the Thermo Scientific Vanquish User Interface to your system.
For detailed descriptions and instructions, you can view or download our HPLC Manuals and Quick Installation Guides. Use the Knowledge Base for retired Thermo Scientific product manuals or additional documents.
Videos
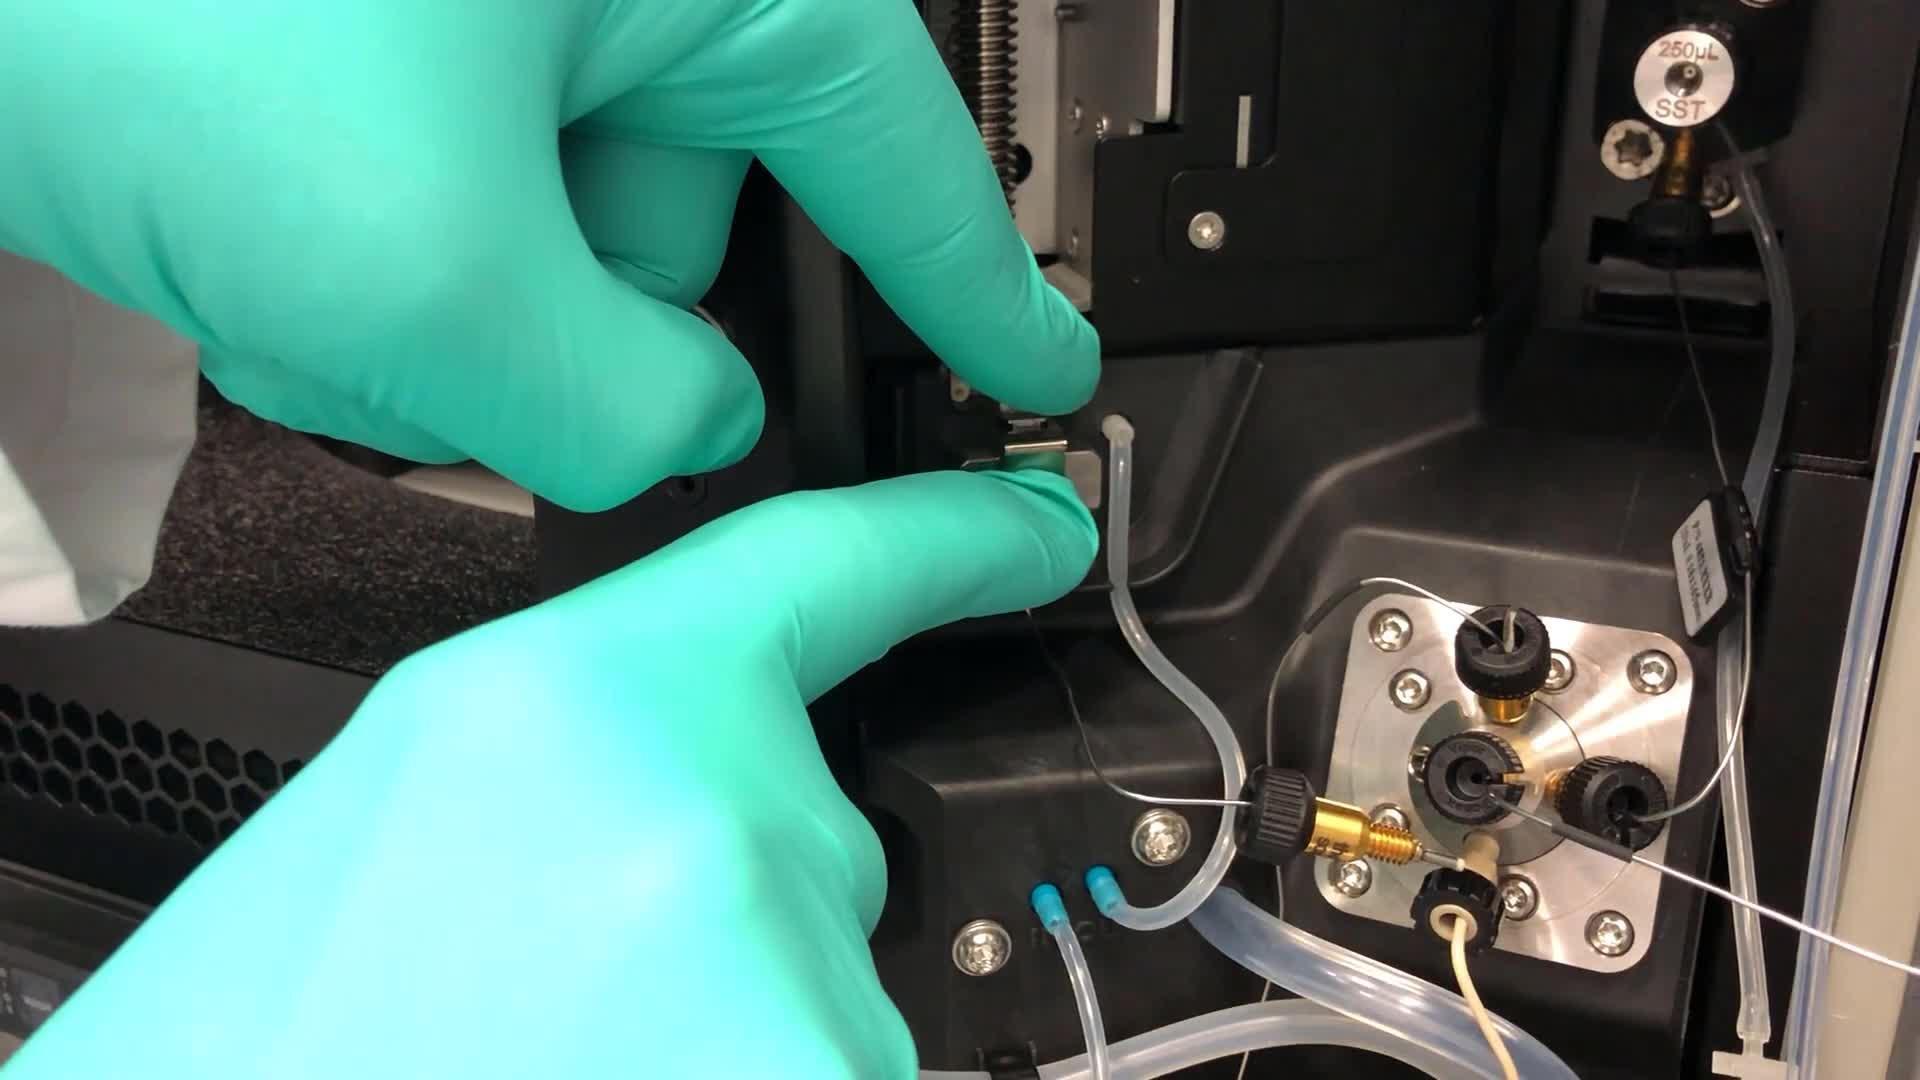
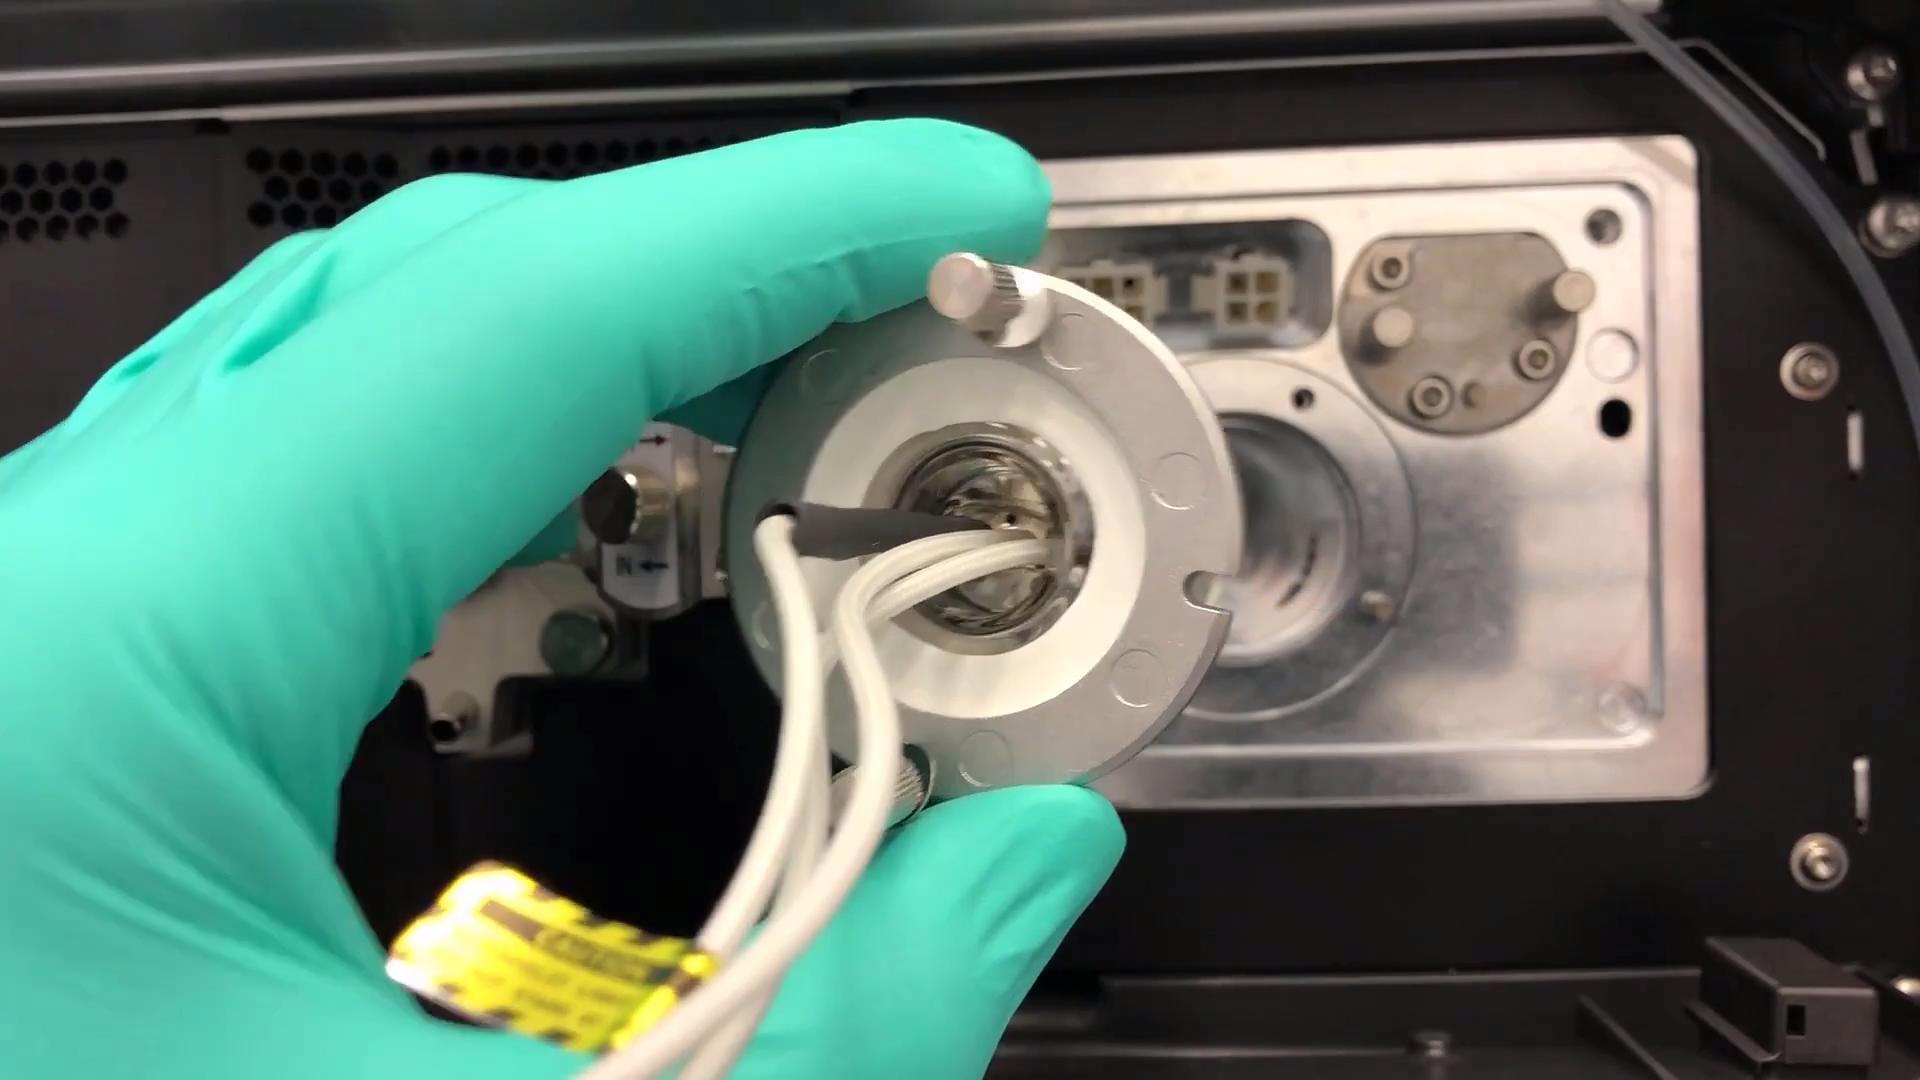
Replace the needle or sample loop if either one becomes clogged or damaged. The needle seat should be replaced whenever it is worn out.
Required parts:
- New sample loop
- New needle unit
- New needle seat
- Screwdriver Torx T10

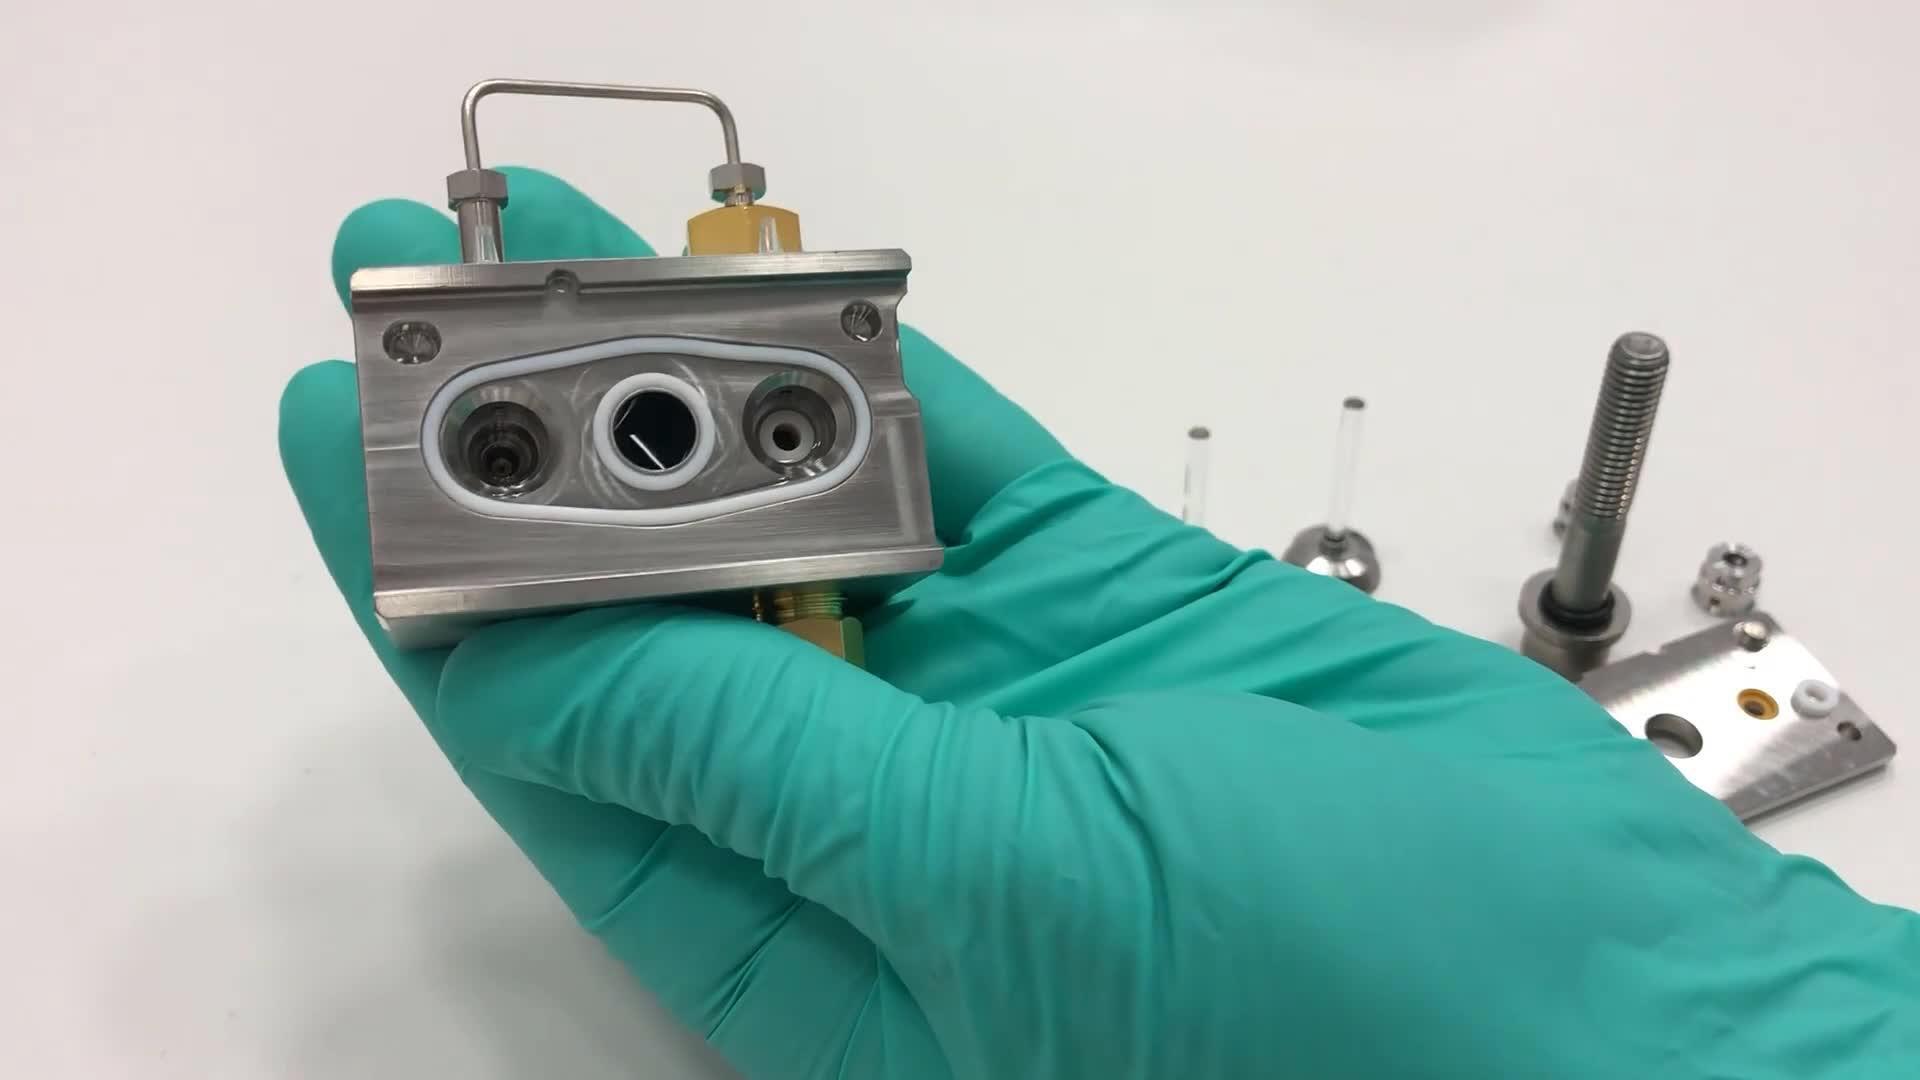
Replace the pump head if the wetted surface is damaged, resulting in internal leaks compromising pump performance or if the pressure sensor is faulty.
Required parts:
- New pump head
- Spacing tool
- Size 6 hexagonal wrench
- ¼” wrench
Preparation steps:
- Flush the pump head with an appropriate solvent using the purge function
- Turn off the pump flow and wait until the system pressure is zero
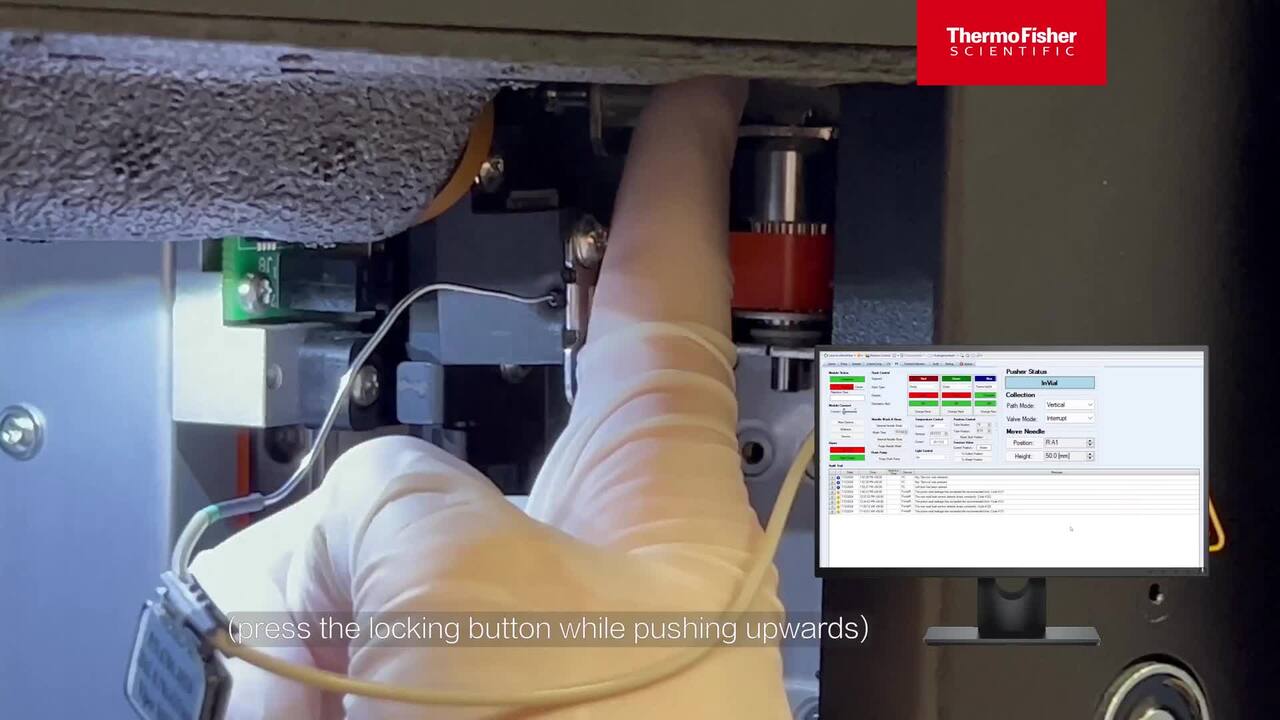
Replace the piston seals of your pump on a regular basis or whenever excessive seal leakage leads to retention time shifts and increased baseline noise. Replace the seal wash seals whenever you remove the pump head. You need not replace the support ring when you replace a piston seal. Replace the support ring only when applicable.
Required parts:
- New piston seals
- New seal wash seals
- Seal handling tool
- Syringe filled with isopropanol
Preparation steps:
- Remove the pump head (see “How to replace the pump head”)
- Remove the pistons
- Remove the seal wash plate from the pump head
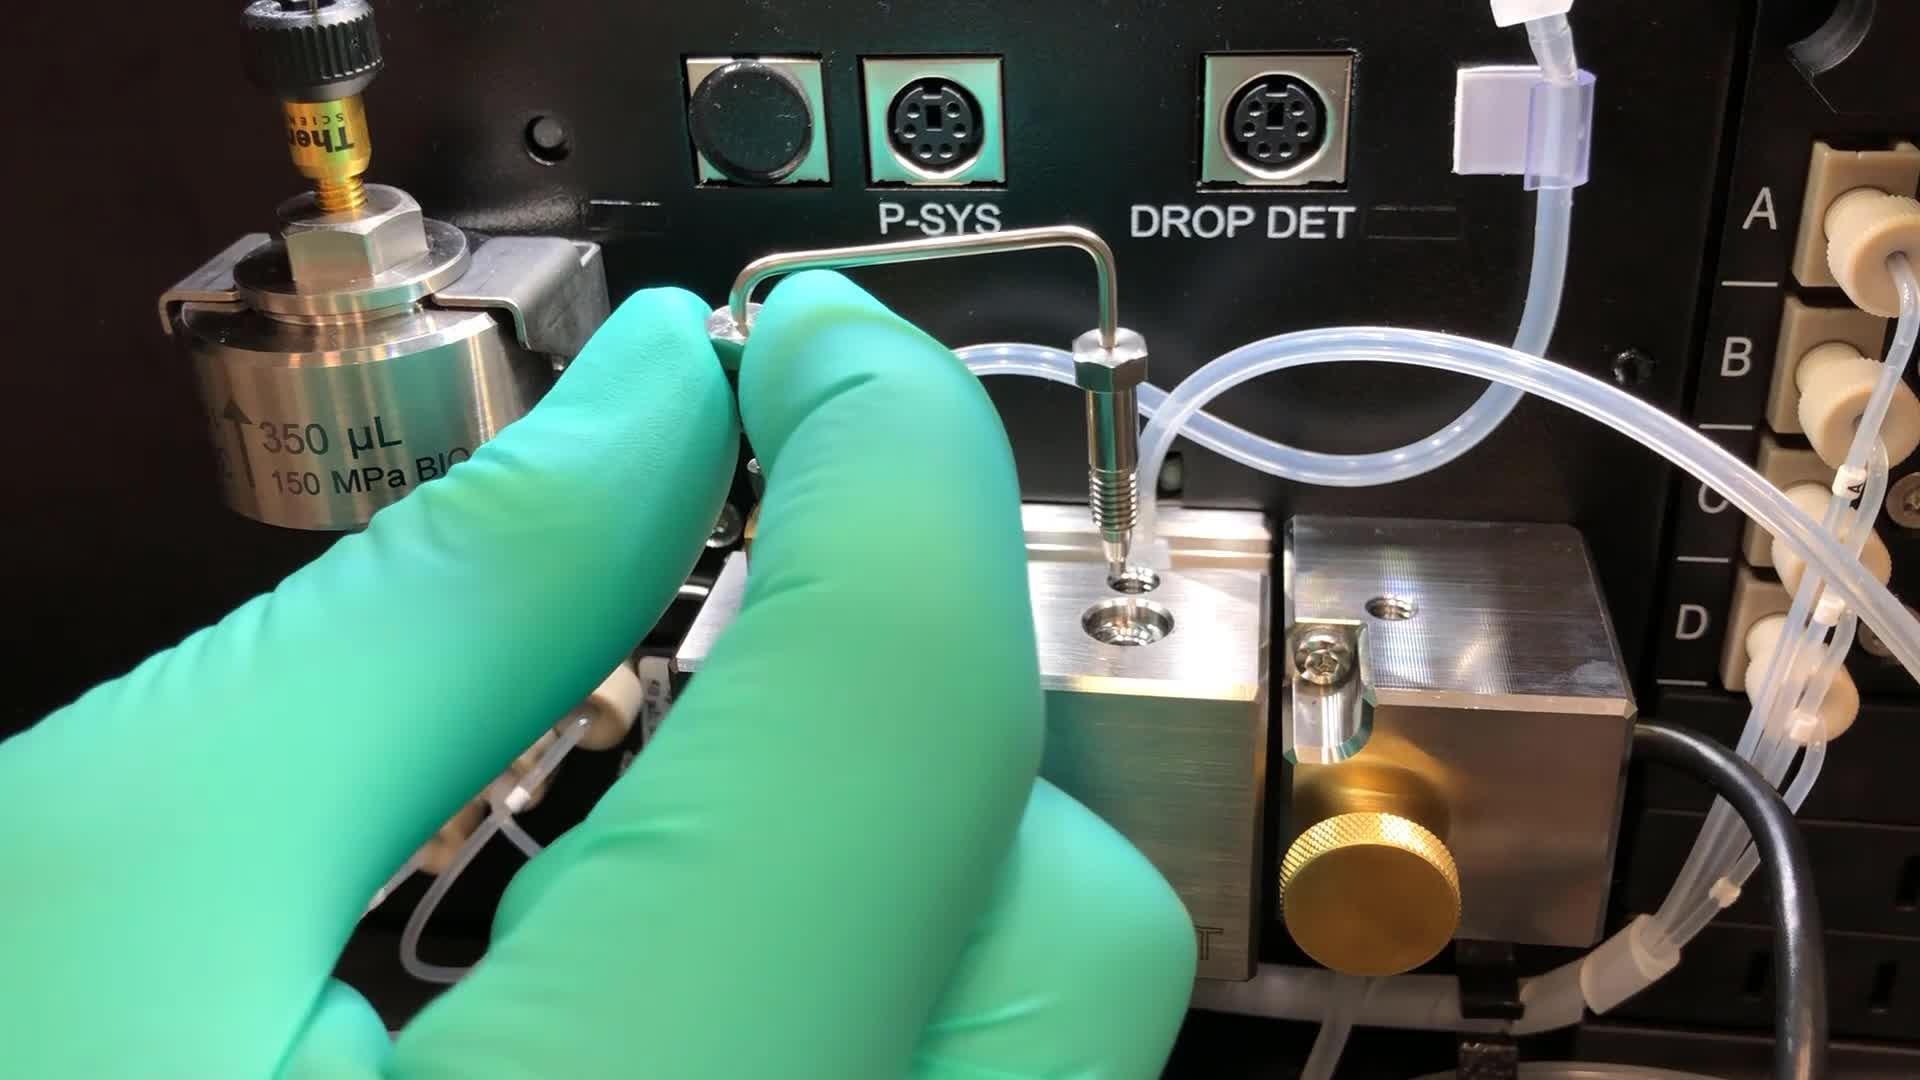
Replace the check valves of your pump whenever they are worn or damaged or you observe a leak.
Required parts:
- New check valve cartridges
- New check valve nuts (only in case of obvious damage)
- Size 13 open-end wrench
- Tweezers
Preparation steps:
- Flush the pump head with an appropriate solvent using the purge function
- Turn off the pump flow and wait until the system pressure is down to zero
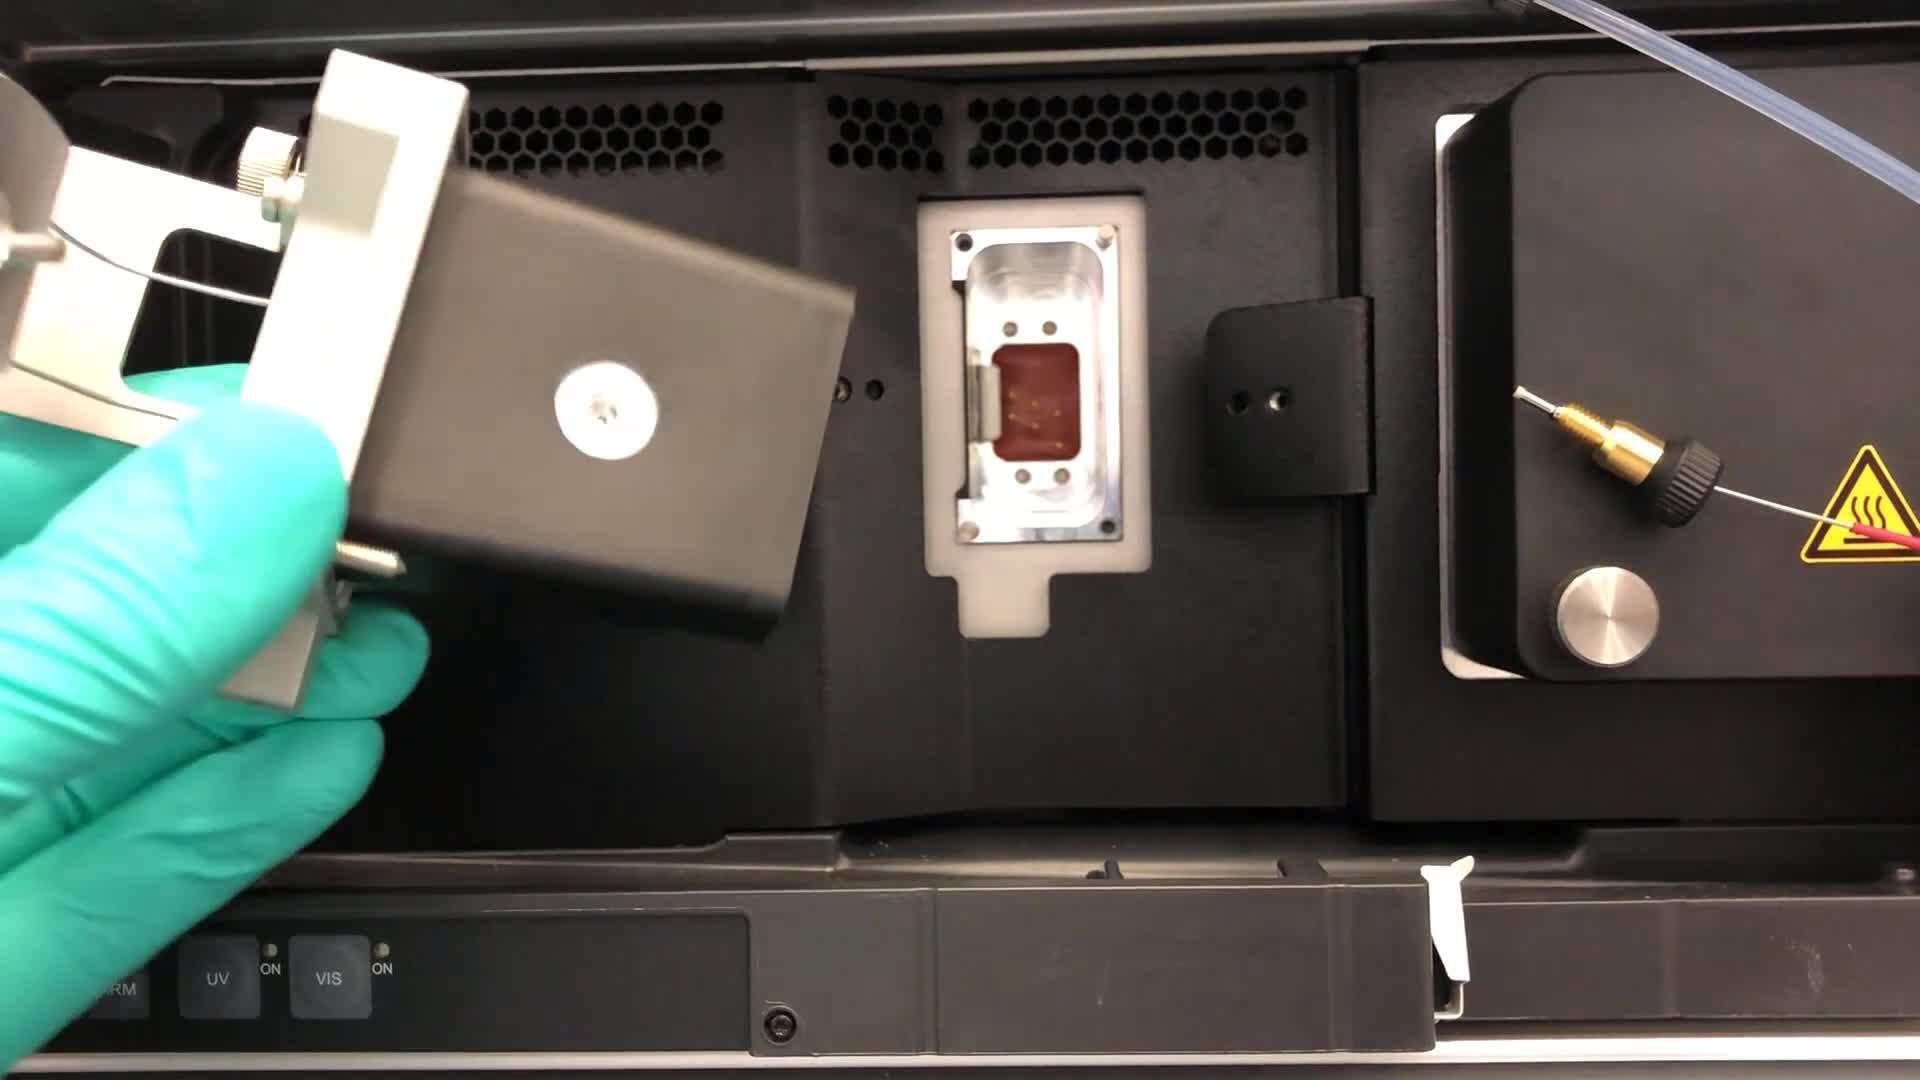
If you see that the flow cell of your detector is damaged or leaking, it should be replaced.
Required parts:
- New flow cell
Preparation steps:
- Flush the flow cell with isopropanol
- Wait until the flow cell has cooled down
Replace the UV lamp when the recommended operating hours are exceeded, the lamp intensity is too low, the lamp intensity fluctuates, or you see other signs that the lamp may be defective.
Required parts:
- New UV lamp
Preparation steps:
- Turn off the UV lamp
- Turn off the main power switch to the detector
- Disconnect the power cord
- Wait until the UV lamp has cooled down
Contact technical support
We can also help you with product selection and ordering, product applications and use, instrument support, field service fulfillment, depot repair, or finding the dealer or distributor for your product of interest.
Style Sheet for Komodo Tabs
Style Sheet for Global Design System
CMD Wide-format style fixes
Style Sheet for Global Design System
Style Sheet for Komodo Tabs
CMD SchemaApp code